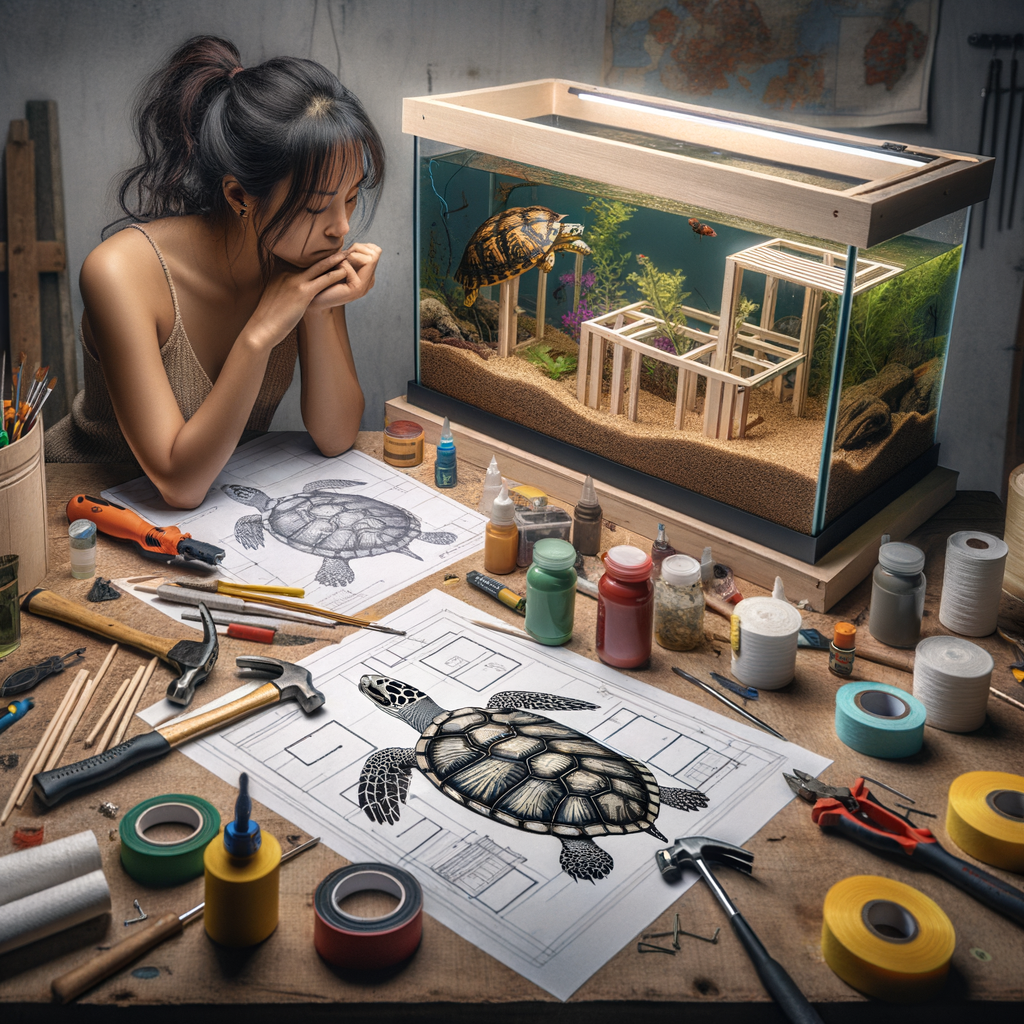
Introduction to Turtle Tank Renovation
Every turtle owner knows the importance of a suitable habitat for their little friends. A well-maintained turtle tank is not just a home for your pet; it’s a safe space where they can thrive and live happily. But what happens when your old turtle tank starts showing signs of wear and tear? That’s where turtle tank renovation comes into play.
- Understanding the need for turtle habitat transformation
- Benefits of reusing old tanks
- Overview of a DIY turtle tank project
Over time, your turtle’s tank may become less suitable for its needs. The water quality might deteriorate, the tank’s materials may start to degrade, or the space might simply become too small for your growing turtle. In such cases, a turtle habitat transformation is necessary. Renovating your turtle tank can provide your pet with a healthier, more comfortable environment to live in.
Renovating an old tank instead of buying a new one has several benefits. Firstly, it’s cost-effective. You’ll save money by reusing materials and equipment you already have. Secondly, it’s environmentally friendly. By upcycling your old tank, you’re reducing waste and contributing to sustainability. Lastly, it’s a rewarding DIY project that allows you to customize your turtle’s home to your liking.
A DIY turtle tank renovation project involves several steps. You’ll need to clean the tank thoroughly, repair any damage, and possibly redesign the tank’s layout to better suit your turtle’s needs. You might also want to add new features, like a basking area or a hideout. We’ll delve into each of these steps in detail in the following sections.
In the end, a turtle tank renovation is more than just a project. It’s an opportunity to provide your pet with a better home, to learn new skills, and to contribute to a more sustainable world. So, let’s dive into the fascinating world of turtle tank renovation!
Preparing for Your Turtle Tank Conversion
Before embarking on the exciting journey of converting your old tank into a turtle paradise, it’s crucial to first assess the current state of the tank. This involves identifying potential issues and determining if the tank is suitable for a turtle habitat.
Assessing the Old Tank
It’s important to take a close look at your old tank before you start making changes. Here are two key steps to follow:
- Identifying potential issues: Start by examining the tank for any visible problems. This could include cracks in the glass, leaks, or signs of mold or algae. Also, check the filtration system to ensure it’s functioning properly. Remember, a healthy turtle habitat requires clean, filtered water. If there are issues, they need to be addressed before the conversion process begins.
- Determining suitability for a turtle habitat: Not all tanks are suitable for turtles. Turtles require both a water area and a dry basking area. The tank should be large enough to accommodate both. Additionally, turtles are excellent climbers and can easily escape from a tank that’s too shallow. Therefore, the tank’s height is also a crucial factor to consider.
Assessing your old tank is a critical first step in the turtle tank conversion process. It helps you identify any potential problems early on and ensures that your new turtle home will be safe, comfortable, and suitable for your shelled friend.
Planning the New Turtle Home
Once you’ve assessed the old tank and determined its suitability for a turtle habitat, the next step in preparing for your turtle tank conversion is planning the new turtle home. This involves two key steps: researching turtle habitat requirements and creating a design plan for the tank makeover.
- Researching Turtle Habitat Requirements
Before you can begin designing your new turtle home, it’s crucial to understand what turtles need to thrive. Turtles are unique creatures and their habitat requirements can vary depending on their species. However, there are some general guidelines that apply to most turtles.
Firstly, turtles need a tank that is large enough for them to swim and move around comfortably. The general rule of thumb is that for every inch of turtle, you should provide 10 gallons of water. So, a 5-inch turtle would need a 50-gallon tank.
Secondly, turtles need both a water area and a dry area in their tank. The water area should be deep enough for the turtle to submerge completely, while the dry area, or ‘basking area’, should be large enough for the turtle to completely dry off under a heat lamp.
Lastly, turtles need a balanced diet and clean water. Regularly cleaning the tank and providing a diet that includes both meat and vegetables will help keep your turtle healthy.
- Creating a Design Plan for the Tank Makeover
Once you’ve researched the habitat requirements for your turtle, the next step is to create a design plan for the tank makeover. This plan should include both the layout of the tank and the materials you will use.
When planning the layout, consider the size of your turtle and the space it needs to swim and bask. Remember to include both a water area and a dry area in your design. You may also want to include hiding spots and decorations to make the tank more interesting for your turtle.
For the materials, consider what will be safe and comfortable for your turtle. For example, the bottom of the tank could be lined with a soft substrate like sand or pebbles. The basking area could be made from a flat rock or a specially designed turtle dock.
Planning your new turtle home can be a fun and rewarding process. By researching turtle habitat requirements and creating a thoughtful design plan, you can create a turtle tank that is both functional and beautiful.
Upcycling Aquariums: The Conversion Process
When it comes to upcycling aquariums, the conversion process is a crucial step. This process involves transforming an old aquarium into a new, comfortable home for your turtle. Let’s dive into the first step of this process: initial cleaning and disinfection.
Initial Cleaning and Disinfection
Before we start with the conversion, it’s essential to ensure that the aquarium is clean and free from any harmful bacteria. This is where the initial cleaning and disinfection come in.
- Steps for thorough cleaning:
- Importance of disinfection:
Start by emptying the aquarium and removing any gravel, decorations, or filters. Use a soft cloth or sponge to wipe down the inside of the tank. Avoid using harsh chemicals as they can be harmful to turtles. Instead, use a solution of warm water and vinegar. Rinse the tank thoroughly to ensure no residue is left behind.
Disinfection is crucial to eliminate any harmful bacteria or parasites that may be present in the tank. You can use a mild bleach solution for this purpose. Remember to rinse the tank thoroughly after disinfection and let it dry completely before moving on to the next step of the conversion process.
Remember, a clean and disinfected tank is the first step towards creating a safe and comfortable home for your turtle. In the next section, we will discuss how to implement the turtle tank upgrade.
Implementing the Turtle Tank Upgrade
Now that we’ve thoroughly cleaned and disinfected our tank, it’s time to start the exciting process of upgrading it into a turtle paradise. This involves three main steps: installing the basking area, setting up the swimming zone, and adding decorations and hiding spots.
- Installing the Basking Area
- Setting Up the Swimming Zone
- Adding Decorations and Hiding Spots
Turtles love to bask in the sun, so it’s essential to create a comfortable basking area in your tank. Start by choosing a flat rock or a specially designed turtle basking platform. It should be large enough for your turtle to fully stretch out on. Place it on one side of the tank, and install a heat lamp above it. The temperature should be between 85-90 degrees Fahrenheit for most turtle species. Remember, the basking area should be easy for your turtle to climb onto from the water.
The swimming zone is another crucial part of your turtle tank. Turtles are excellent swimmers and need plenty of room to move around. The water depth should be at least twice the length of your turtle’s shell. Make sure the water is clean and filtered, and maintain a temperature between 75-80 degrees Fahrenheit. It’s also a good idea to include a gentle water flow to mimic a natural environment.
Finally, it’s time to add some decorations and hiding spots. These not only make the tank more visually appealing but also provide your turtle with a sense of security. You can use real or artificial plants, rocks, and caves. However, avoid sharp or small decorations that your turtle could injure itself on or swallow. Remember, the goal is to mimic your turtle’s natural habitat as closely as possible.
Implementing these upgrades will turn your old aquarium into a wonderful new home for your turtle. It’s a rewarding process that benefits both you and your pet. In the next section, we’ll look at some successful case studies of turtle tank conversions.
Case Studies: Successful Old Tank to New Home Conversions
Let’s take a look at some successful case studies of old tank to new home conversions. These examples will provide you with practical insights and inspiration for your own turtle tank renovation project.
-
Case Study 1: From Fish Tank to Turtle Paradise
Our first case study involves a standard 20-gallon fish tank that was transformed into a turtle paradise. The owner, a turtle enthusiast, used a combination of natural and artificial elements to create a habitat that mimics a turtle’s natural environment. The bottom of the tank was layered with river pebbles and a small basking area was created using a flat rock. The tank was filled with filtered water and a UVB light was installed for the turtle’s health. The result? A happy, healthy turtle living in a tank that closely resembles its natural habitat.
-
Case Study 2: The Multi-Level Turtle Terrarium
The second case study showcases a multi-level terrarium created from a 40-gallon tank. The owner, a DIY enthusiast, built a two-tiered structure inside the tank using safe, non-toxic materials. The lower level was filled with water for swimming, while the upper level served as a dry basking area. The owner also installed a heat lamp and a UVB light to ensure the turtle’s wellbeing. This innovative design not only maximizes the use of space but also provides the turtle with a stimulating environment.
-
Case Study 3: The Budget-Friendly Turtle Habitat
Our final case study is a testament to the fact that you don’t need to spend a fortune to create a comfortable turtle habitat. The owner of this project converted a 10-gallon tank into a turtle habitat using budget-friendly materials. A plastic container was used to create a basking area, and a desk lamp was repurposed as a heat source. The owner also added a few aquatic plants for a touch of greenery. Despite the modest budget, the turtle seems to be thriving in its new home.
These case studies demonstrate that with a little creativity and effort, you can transform an old tank into a new home for your turtle. Whether you have a small budget or a large one, a small tank or a large one, the possibilities are endless.
Key Takeaways and Tips for Your Turtle Tank Makeover
As we conclude our journey through the process of renovating a turtle tank, let’s take a moment to highlight the most important points. These key takeaways will serve as your guide as you embark on your own turtle tank makeover project.
- Importance of patience and planning
- Benefits of upcycling old tanks
- Ensuring the safety and comfort of your turtle
Planning is a crucial part of any project, and a turtle tank makeover is no exception. It’s important to take the time to research the needs of your turtle, the materials you’ll need, and the steps you’ll need to take. Patience is also key. Remember, a well-executed turtle tank makeover can’t be rushed. It’s a labor of love that requires time and attention to detail.
Upcycling an old tank not only saves you money, but it’s also a great way to reduce waste. By giving an old tank a new life, you’re not only creating a comfortable home for your turtle, but you’re also doing your part to help the environment. Plus, upcycling allows you to add a personal touch to your turtle’s home, making it truly unique.
The safety and comfort of your turtle should always be your top priority. Make sure the tank is large enough for your turtle to move around comfortably, and that it has the right balance of land and water areas. Use safe, non-toxic materials, and make sure all decorations and fixtures are secure. Regularly check the temperature and cleanliness of the tank to ensure your turtle’s health and happiness.
In conclusion, a turtle tank makeover is a rewarding project that requires careful planning, patience, and a focus on the safety and comfort of your turtle. By upcycling an old tank, you can create a unique and comfortable home for your turtle while also doing your part to help the environment. Happy renovating!
Conclusion: The Joy of Creating New Turtle Homes
As we wrap up our discussion on turtle tank renovation, it’s time to reflect on the journey we’ve taken together. We’ve learned about the importance of creating a suitable habitat for our shelled friends and the joy that comes from doing it ourselves.
- Reflection on the process and results:
- Encouragement for future DIY turtle tank projects:
From the initial stages of preparing for the turtle tank conversion, through the actual conversion process, to seeing successful transformations in our case studies, we’ve seen that creating a new turtle home can be a rewarding experience. Not only does it provide a safe and comfortable environment for our turtles, but it also allows us to tap into our creativity and resourcefulness. The results are tangible – healthier, happier turtles and a sense of accomplishment for ourselves.
Now that you’ve seen what’s possible, we hope you’re inspired to take on your own DIY turtle tank project. Remember, the process doesn’t have to be perfect. What matters most is the love and care you put into creating a home for your turtle. With each project, you’ll gain more knowledge and experience, making each subsequent project even better. So, don’t be afraid to roll up your sleeves and get started. Your turtle will thank you!
In conclusion, creating new turtle homes is not just about providing a habitat for our pets. It’s about the joy of creating, the thrill of seeing our plans come to life, and the satisfaction of knowing we’ve made a positive impact on the lives of our turtles. So, let’s continue to create, innovate, and bring joy to our turtles and ourselves.


